Kitchen knives scare some people. Especially if they are sharp.
The truth is, you’re more likely to hurt yourself with a dull knife. Here’s why:
- When using a dull knife, you have to saw away at your food. This means you have to hold your food steady. This combination of multiple knife strokes and trying to keep a firm grip on your food raises your chances of slipping and cutting yourself.
- Have you ever thought of why surgeons use really sharp tools when you go “under the knife?” It’s not just to make their job quicker (although that is likely an added bonus). A clean cut — a cut made with a really sharp blade — heals faster.
Before I upgraded my knives and learned a thing or two about sharpening, my kitchen oops cuts took forever to heal. Now, my cuts heal much faster.
Yes, I still cut myself every once in awhile. But it’s usually when I need to sharpen my knife.
I haven’t had a kitchen oops cut in over a year, so give me a second to knock on some wood.
Ok, superstitions aside, let’s talk about SAFELY sharpening your knives.
Step 1: Know your knife!
Do you have a Japanese-style knife or a European-style knife? I’m not talking about shape, I’m talking about how your knife was made.
Japanese knives are usually harder than European knives and they are usually sharpened at a 15 degree angle. European knives are usually sharpened at a 22 degree angle.
Step 2: Assess your sharpening needs
If it’s been a year or more, you probably need to sharpen your knife. If your knife feels a little dull, try honing it first.
Step 3: Choose your tool
- A honing rod
- A sharpening stone (or two, or three)
- A pull-through sharpener
If you want tips on honing or sharpening stones, read my previous posts.
If you want quick and simple, choose a pull-through sharpener. Pull-throughs (like the one in the middle bottom of the picture) are a lot more fool-proof than the other two methods.
But just like any kitchen tool, you need to know how to use it.
First, you need the right pull-through for your knife. As mentioned, different knives have different edge angles and some are harder than others. When buying one, they are clearly marked with either the angle or the make of knife.
Next, read the directions. Not a popular piece of advice, I know, but some pull-throughs need water and some you can use dry.
When buying a pull-through, go for one with at least two stages, unless you love using your honing rod. The second stage saves time and you can use it a lot more frequently than the first stage.
Don’t put too much pressure on your knife when using your pull-through. If you’re sharpening a large blade, like an 8″ chef’s knife, the weight of the blade should be enough. You will have to apply light pressure on a small blade, like a 4″ paring knife, to get that baby sharpened.
I can’t stress this enough, don’t apply too much pressure when using your pull-through
If you apply too much pressure, you can chip or even gouge your knife’s edge.
Instructions:
Place your sharpener on a cutting board (so you don’t damage your counter or your knife)
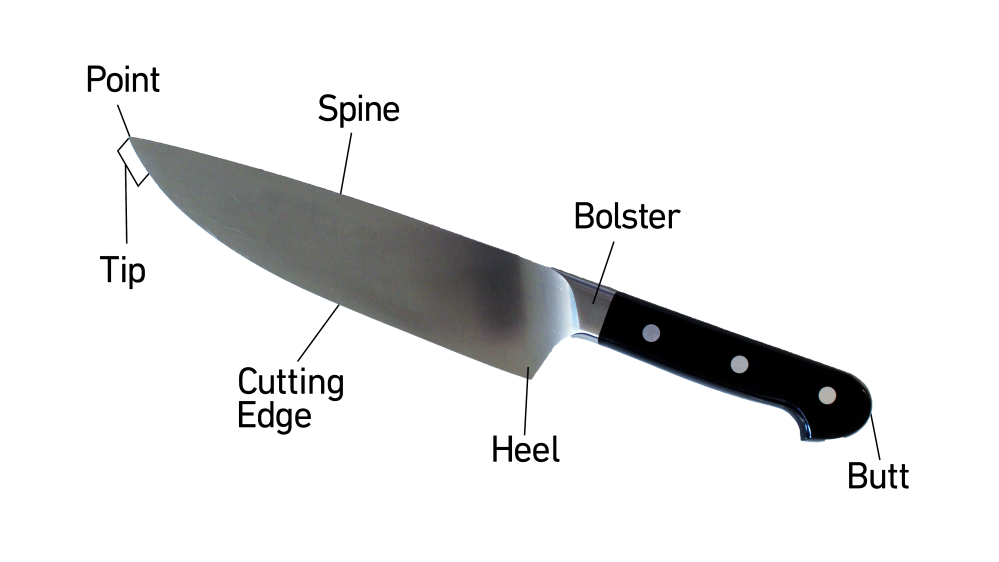
Hold the pull-through with one hand and place the heel of the knife in the middle of the first stage’s slot. Try to have it straight up (perpendicular to the cutting board).
Pull the knife through from the heel to the tip, angling the knife as necessary so the tip connects with the sharpener.
Repeat as necessary. Sometimes I need to do this about ten times, but I’ve had success with as little as four times.
If applicable, move on to the next stages, but follow the same instructions.
After using a pull-through, your edge might feel really gritty. If that’s the case, run it through the final stage again, or use your honing rod.
Step 4: Sharpen away!
(In case you hadn’t guessed)
Your nice sharp knives will make a huge difference in the kitchen.
Don’t be afraid. Keep your fingers out of the way and don’t have any wine until AFTER you’ve cut the veggies.
Happy sharpening!

I am no longer sure the place you are getting your info, however great topic. I must spend a while studying much more or figuring out more. Thank you for wonderful info I used to be in search of this info for my mission.
LikeLiked by 1 person
Thanks for your comment! My info comes from a combination or research (ongoing), training from company reps (when I worked at a cookware boutique), and personal experience. I’m happy you are questioning your sources! 🙂
LikeLike
And as always, if there’s a kitchen tool you want me to cover in a future post, leave me a comment or shoot me a message in the contact section.
LikeLike
I’m no longer positive where you’re getting your information, however great topic. I must spend a while learning more or figuring out more. Thank you for fantastic info I used to be looking for this info for my mission.
LikeLike